Insights & Updates
Blog
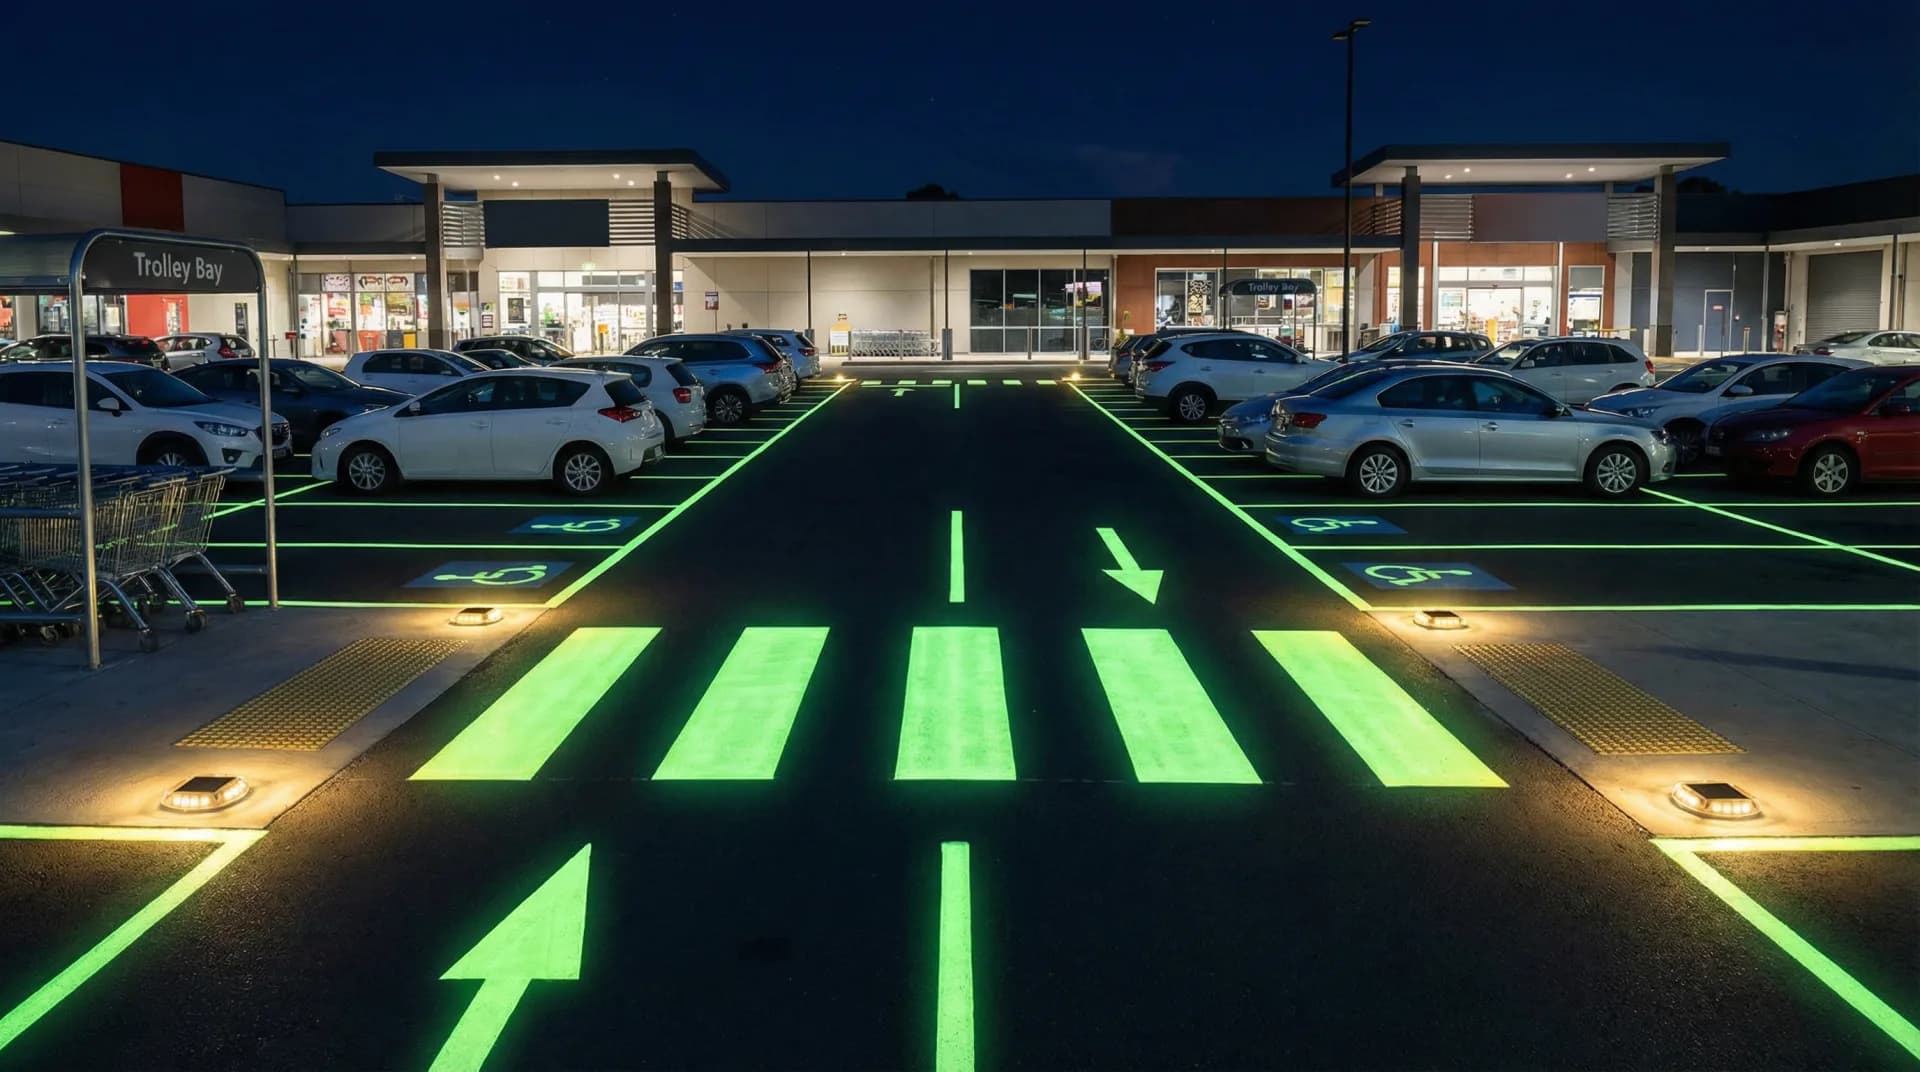
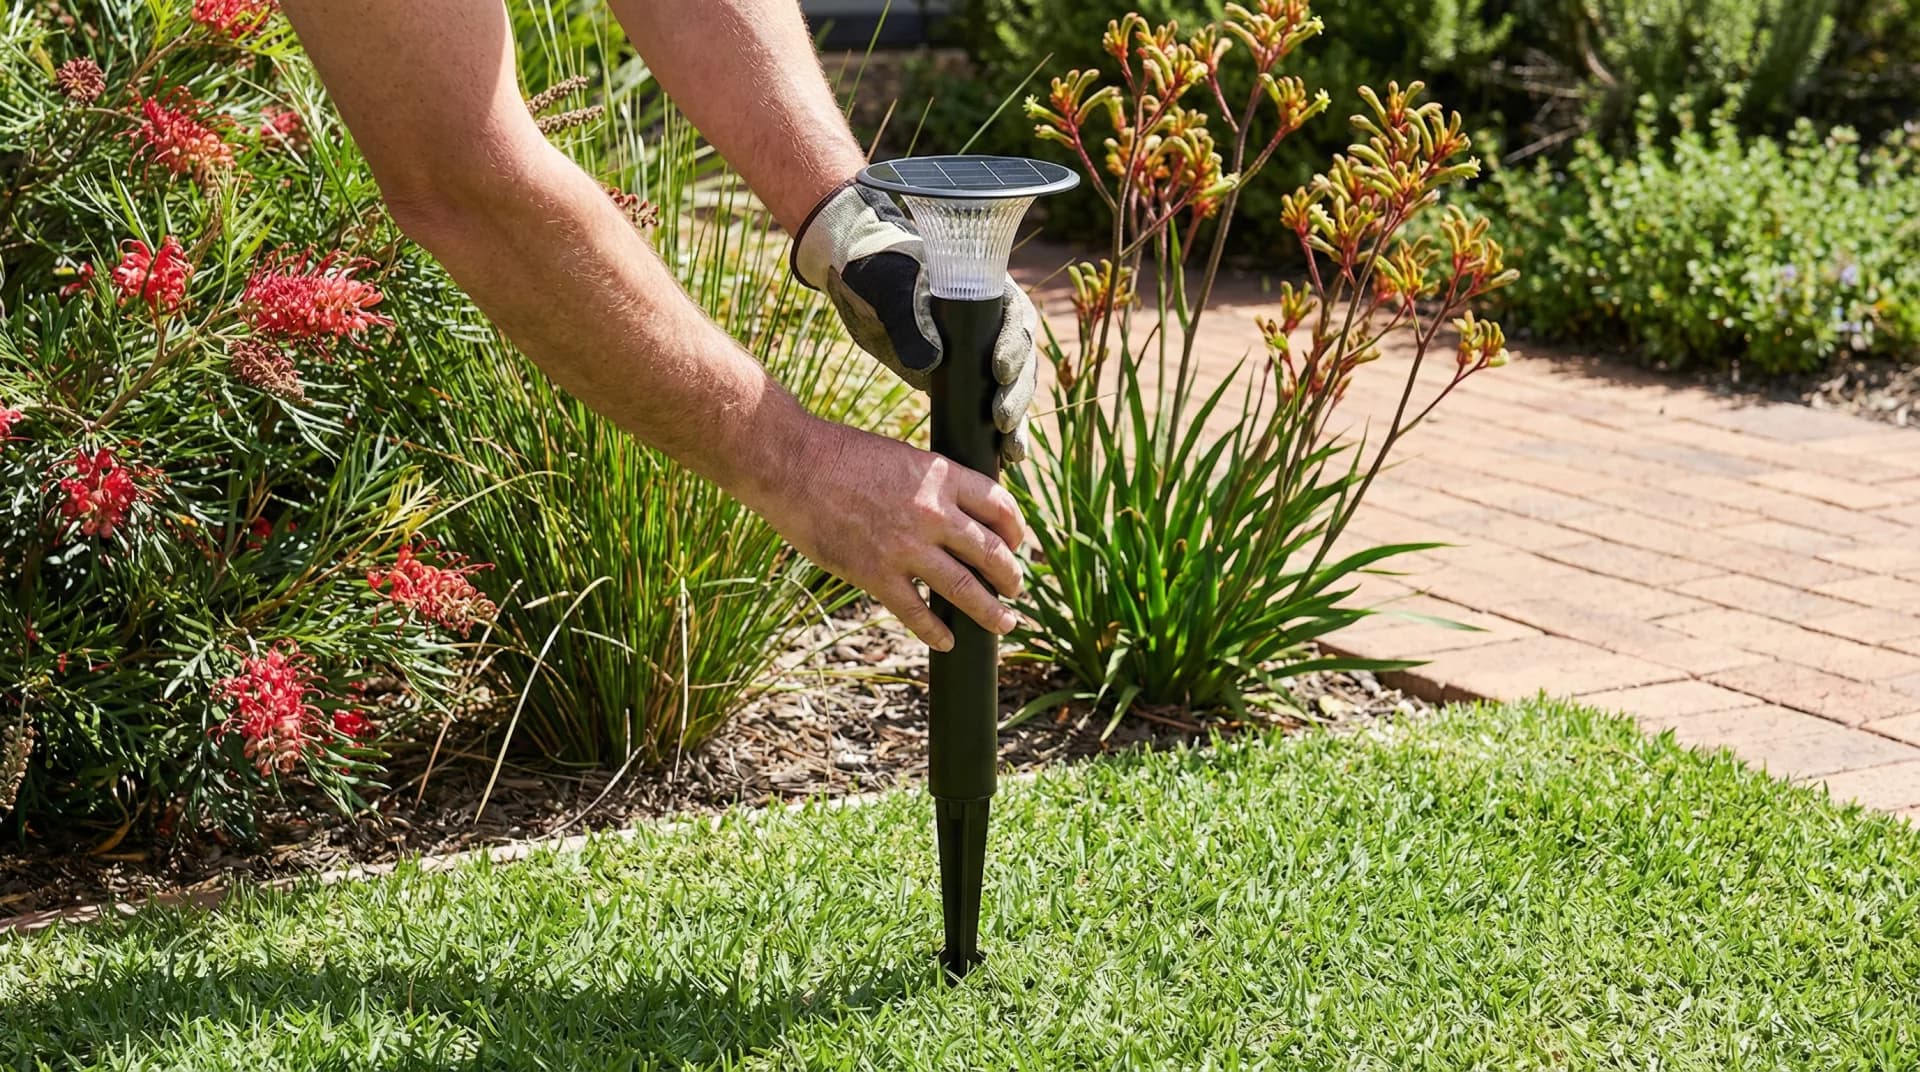
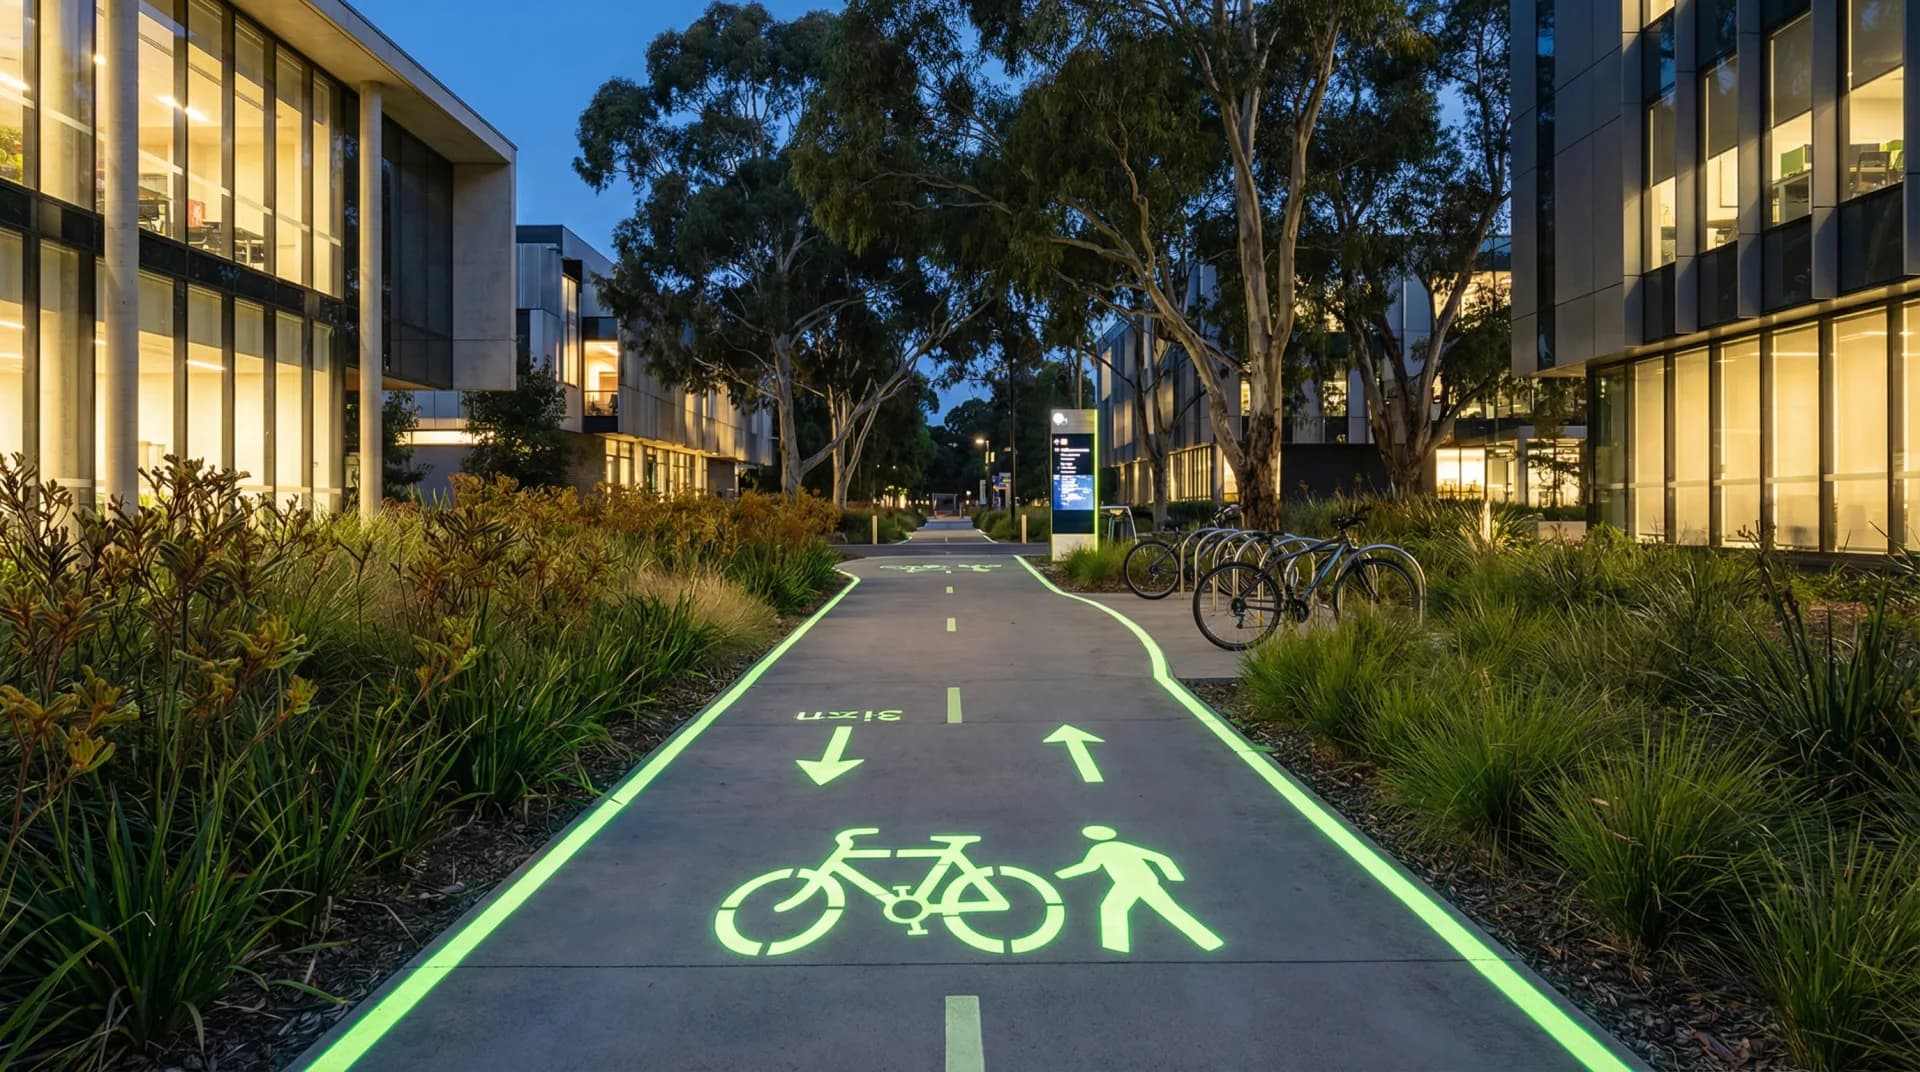
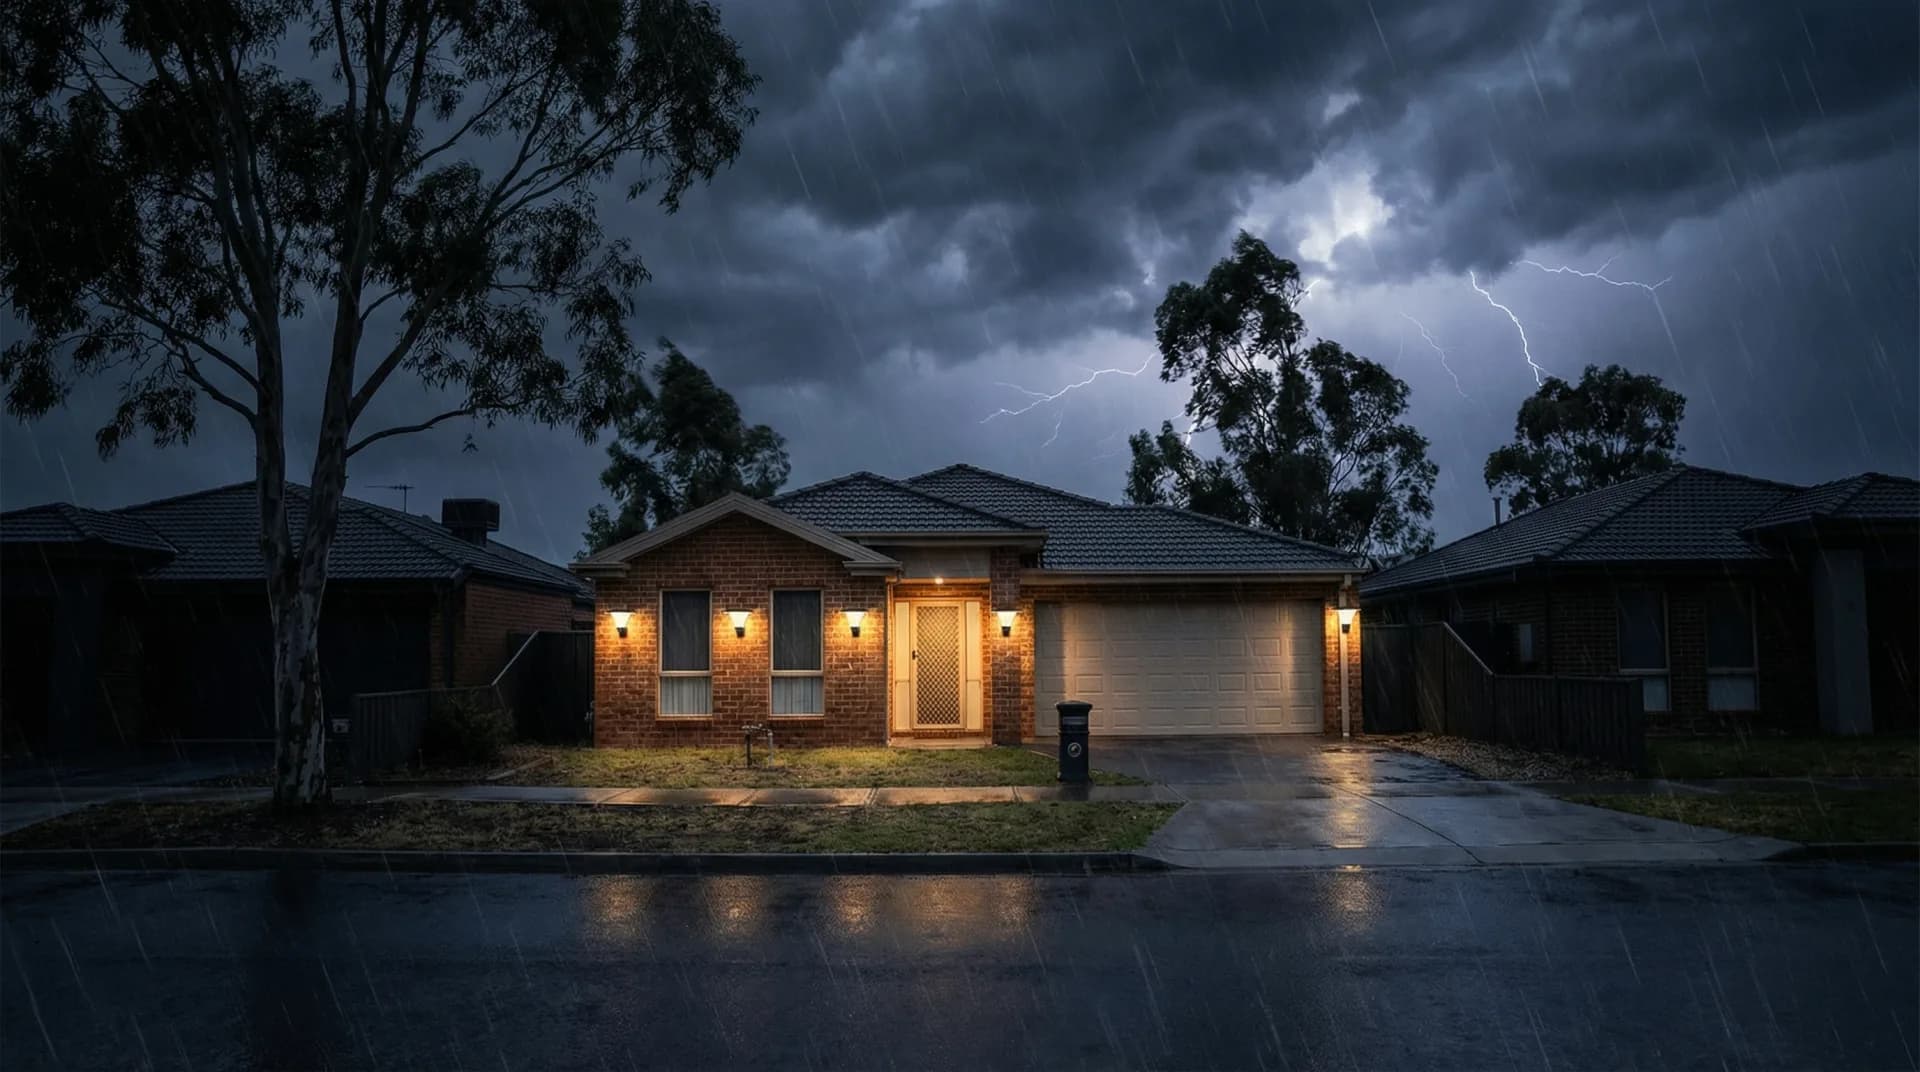
Solar lighting education, safety tips, and industry insights for Australian homes, businesses, and councils.


Stay Informed
Get solar lighting tips, safety guides, and industry news delivered to your inbox. No spam, just useful content.